How to Create a Professional T-Shirt Mockup in Under 60 Seconds
Creating professional t-shirt mockups used to require expensive software, complex 3D modeling skills, and hours of work. Not anymore. With the right tools and a clear workflow, you can go from a raw design file to a photorealistic product image in under a minute.
Why T-Shirt Mockups Matter
If you are selling apparel online, mockups are your first impression. A flat design file does not communicate how a t-shirt actually looks when worn. Customers want to see:
- How the fabric drapes around the body
- How the print scales on the actual garment
- How colors interact with the fabric texture
Studies show that product listings with realistic 3D mockups see up to 40% higher conversion rates compared to flat design previews. This makes sense when you consider the psychology of online shopping. Buyers cannot touch or try on your product. The mockup is the closest thing they have to a real experience, and the more realistic it looks, the more confidence they have in their purchase.
Beyond conversions, mockups save you money. A single professional photoshoot for a t-shirt line can cost hundreds or thousands of dollars when you factor in the photographer, model, studio rental, and post-production editing. Multiply that by every colorway and every new design, and photography costs become one of the biggest line items for a growing apparel brand.
Step-by-Step: Create Your Mockup
1. Choose Your Base Model
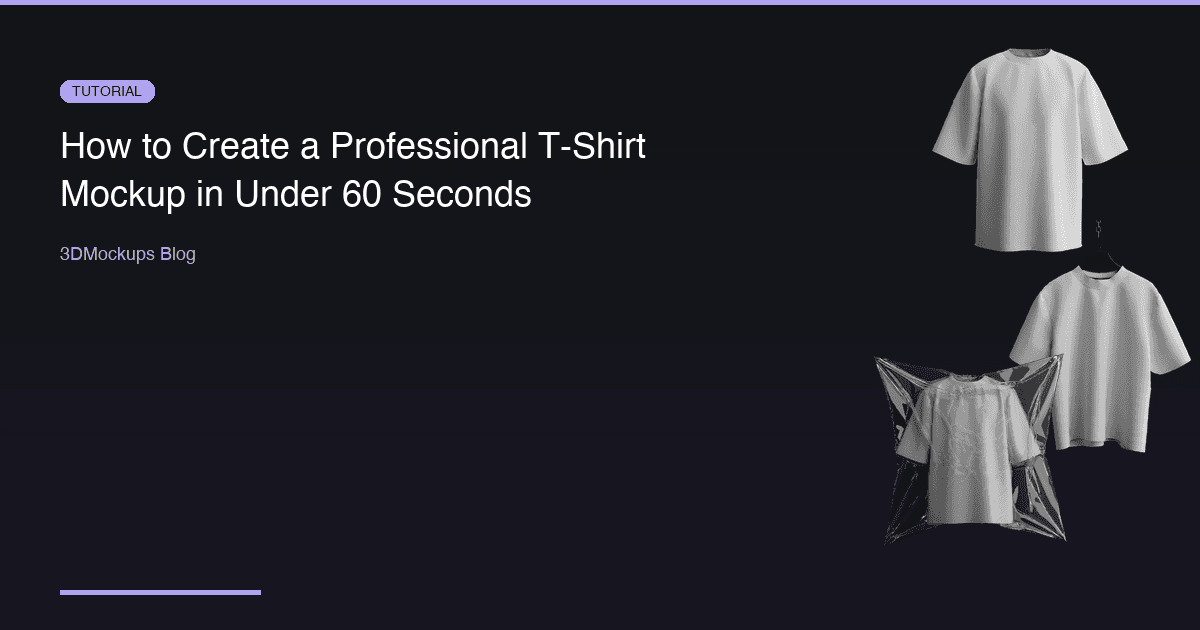
Start by selecting a t-shirt model that matches your product. The model you choose sets the tone for your entire presentation. 3DMockups offers multiple styles, each designed for a different use case:
- Oversized T-Shirt — the go-to for streetwear brands. The relaxed fit and dropped shoulders communicate a casual, urban aesthetic that resonates with younger audiences. This is the most popular model on the platform.
- Walking T-Shirt — adds dynamic movement to your mockup. The walking pose creates a sense of life and motion that static mockups cannot match. Perfect for social media content where you need to stop the scroll.
- T-Shirt on Hanger — ideal for e-commerce product listings. The clean, minimal presentation puts the focus entirely on your design. This is what professional retailers use for their online catalogs.
- Packed T-Shirt — great for packaging previews and unboxing content. Shows customers exactly how the product arrives, which builds trust and reduces uncertainty.
- T-Shirt on Table — a flat-lay style that works well for lifestyle-oriented brands. Popular on Instagram and Pinterest where editorial-style product photography performs best.
- Rock Pose T-Shirt — an edgy, expressive stance that communicates attitude. Perfect for band merch, festival wear, and brands with a bold personality.
Think about where the final image will be used. Product pages need clean, professional shots. Social media needs dynamic, attention-grabbing visuals. Marketing materials need something in between.
2. Upload Your Design
Upload a transparent PNG of your artwork. The editor automatically maps it onto the 3D surface, respecting fabric folds and curvature. This is where 3D mockups fundamentally differ from flat overlays. Your design does not just sit on top of the fabric — it wraps around the geometry of the garment, following every fold, crease, and seam.
For the best results, prepare your artwork at a high resolution. We recommend at least 2000 by 2000 pixels, though larger files produce even crisper results. Use transparent backgrounds (PNG format) so only your design appears on the garment. If you have a JPEG, the editor will still work, but transparent PNGs give you the cleanest result.
3. Adjust Placement and Color
Use the editor to fine-tune your design position. You can scale, rotate, and reposition your artwork directly on the 3D model. This gives you precise control over where your print sits on the garment.
Next, change the garment base color to match your actual product. The 3D renderer preserves fabric texture and shadows regardless of the color you choose. A navy t-shirt will show realistic shadow depth in the folds, while a white t-shirt will have subtle highlights along the creases. This level of realism is impossible to achieve with flat mockup templates.
Color accuracy matters more than most people realize. If your manufacturer sends you a Pantone code or hex value, use that exact color in the mockup. When customers receive a product that matches the mockup they saw online, return rates drop significantly.
4. Export Your Mockup
Hit export and download your high-resolution render. The standard export produces images suitable for web, social media, and e-commerce platforms. Pro users get access to 4K stills and 60fps MP4 video exports, which are ideal for hero banners, advertising, and animated social content.
Consider exporting multiple angles of the same design. A front view, a slight rotation, and a close-up detail shot give customers a comprehensive look at your product. Most successful e-commerce listings include at least three to five product images.
Tips for Better Mockups
- Use high-resolution artwork (at least 2000 by 2000 pixels) for crisp prints that hold up at any zoom level
- Match the garment color to your actual product for realistic previews that build buyer trust
- Try multiple angles — 3DMockups lets you orbit the model freely, so take advantage of perspectives that highlight your design
- Use the walking models for social media content — dynamic poses grab attention in crowded feeds
- Export in multiple sizes — create a high-res version for your website and a square crop for Instagram
- Test different backgrounds — a dark background makes light-colored shirts pop, and vice versa
- Preview on mobile — most of your customers will see the mockup on a phone screen, so make sure the design reads well at small sizes
Why 3D Beats Flat Mockups
Traditional flat mockups are static images that do not show depth. They are essentially Photoshop templates where your design is placed as a flat layer on top of a photograph. While this approach was the industry standard for years, it has significant limitations.
3D mockups rendered in real-time let you:
- Rotate and view from any angle, giving customers a complete understanding of the product
- See how designs wrap around seams and respond to fabric curvature
- Preview how colors look on different fabric tones with accurate lighting
- Create animated previews for social media that stop the scroll
- Generate unlimited colorways from a single upload without additional work
The technology gap between flat and 3D mockups has closed rapidly. What once required a dedicated 3D artist with specialized software can now be done by anyone with a web browser. The quality ceiling has also risen — modern real-time rendering engines produce results that are nearly indistinguishable from professional product photography.
Common Mistakes to Avoid
Even with the best tools, there are pitfalls that can make your mockups look unprofessional:
Low-resolution artwork is the number one issue. If your source file is small, the print will look pixelated when mapped onto the 3D model. Always work with the highest resolution version of your design.
Ignoring the garment color creates a disconnect between your mockup and the real product. If you are selling a charcoal gray t-shirt but your mockup shows black, customers will notice the difference when the package arrives.
Overcomplicating the design placement can hurt readability. On an oversized t-shirt, the most effective print placement is usually centered on the chest or as a large front graphic. Resist the urge to add too many design elements.
Using only one angle limits the customer's understanding of your product. Even if your primary product image is a front view, supplement it with at least one additional perspective.
Where to Use Your T-Shirt Mockups
Once you have created your mockups, maximize their value by using them across every channel:
E-commerce product pages are the highest-impact placement. Your main product image should be a clean, front-facing mockup on a neutral background. Secondary images should include additional angles, close-up details, and lifestyle shots. Most platforms support five to eight images per listing — use all of them.
Social media demands a different format. Instagram feed posts work best with square or four-by-five crops. Stories and Reels need vertical nine-by-sixteen format. TikTok favors vertical video. Create exports optimized for each platform rather than using the same image everywhere.
Email marketing benefits from mockups in hero banners, product announcements, and abandoned cart emails. A visually compelling mockup in a product launch email can significantly increase click-through rates.
Pitch decks and wholesale catalogs need high-resolution mockups that look professional when projected or printed. Use the 4K export option for any material that will be displayed on large screens or printed at scale.
Marketplace listings on platforms like Etsy, Amazon, and Redbubble have specific image requirements. Check each platform's guidelines for dimensions, file size, and background color before exporting your final mockups.
The more places your mockups appear, the more value you extract from the few minutes it takes to create them. Build mockup creation into your standard workflow for every new design, and you will always have a library of professional product imagery ready to deploy.
Start creating your first t-shirt mockup today — it is free to try, and you will have a professional result in under 60 seconds.
Ready to create your first mockup?
Try 3DMockups Free